
DURA-FIX: Cold Weather Wood Epoxy Filler- Flexible, Durable, Easy Application


DURA-FIX: Cold Weather Wood Epoxy Filler- Flexible, Durable, Easy Application
DURA-FIX™ Cold Weather Wood Epoxy Filler is your go-to solution for repairing rotted or damaged wood in challenging temperatures ranging from 40°F to 70°F (4°C to 21°C). This dual-cartridge system ensures quick dispensing, mixing, and application with minimal waste. Its long open time allows for precise placement on both vertical and horizontal surfaces without shrinking, slumping, or sagging. After an 8-hour cure, it can be sanded and painted just like wood, providing a durable, seamless finish for both indoor and outdoor applications.
Size: 450ml Dual Cartridge
Additional Information
Sandable after 8 hours at 40° to 70°
Specially formulated for wood repair
It can be machined, drilled, & sanded
Will not slump, sag, or shrink
It can be molded & shaped in seconds
For indoor and outdoor projects
Remains flexible
Solvent-free & low-order
One-year shelf life once opened
Resealable
Pre-metered dispensing
Promotes sustainability
No epoxy consolidation is needed
Requires a dual-cartridge dispensing gun
Why use a flexible wood epoxy filler to repair wood rot?
Indoors or outdoors, wood is constantly moving with changes in the seasons. DURA-FIX is designed to offer a high-quality bond to wood fibers, remain flexible, and not turn brittle over time. Made of two components - a resin and hardener when combined, they create a strong bond that can withstand high levels of stress and strain. DURA-FIX also improves the structural integrity of the remaining wood. This engineered wood filler is easy to apply, cures overnight, and provides a seamless finish that blends well with the surrounding wood. This filler does not shrink, crack, or crumble and permanently repairs damaged and rotted wood. In addition to filling voids left by rotted wood, DURA-FIX can fill gouges, holes, and knots and be used to create missing profiles.
What types of projects are Dura-Fix epoxy wood fillers used for?
Windows, doors, decks, porches, and siding, including column bases, sills, facia boards, and decorative elements. Additionally, it can be sanded and painted once cured, allowing for a seamless finish that blends well with the surrounding wood.
Here's a step-by-step guide on how simple it is to use Dura-Fix for your wood repair projects:
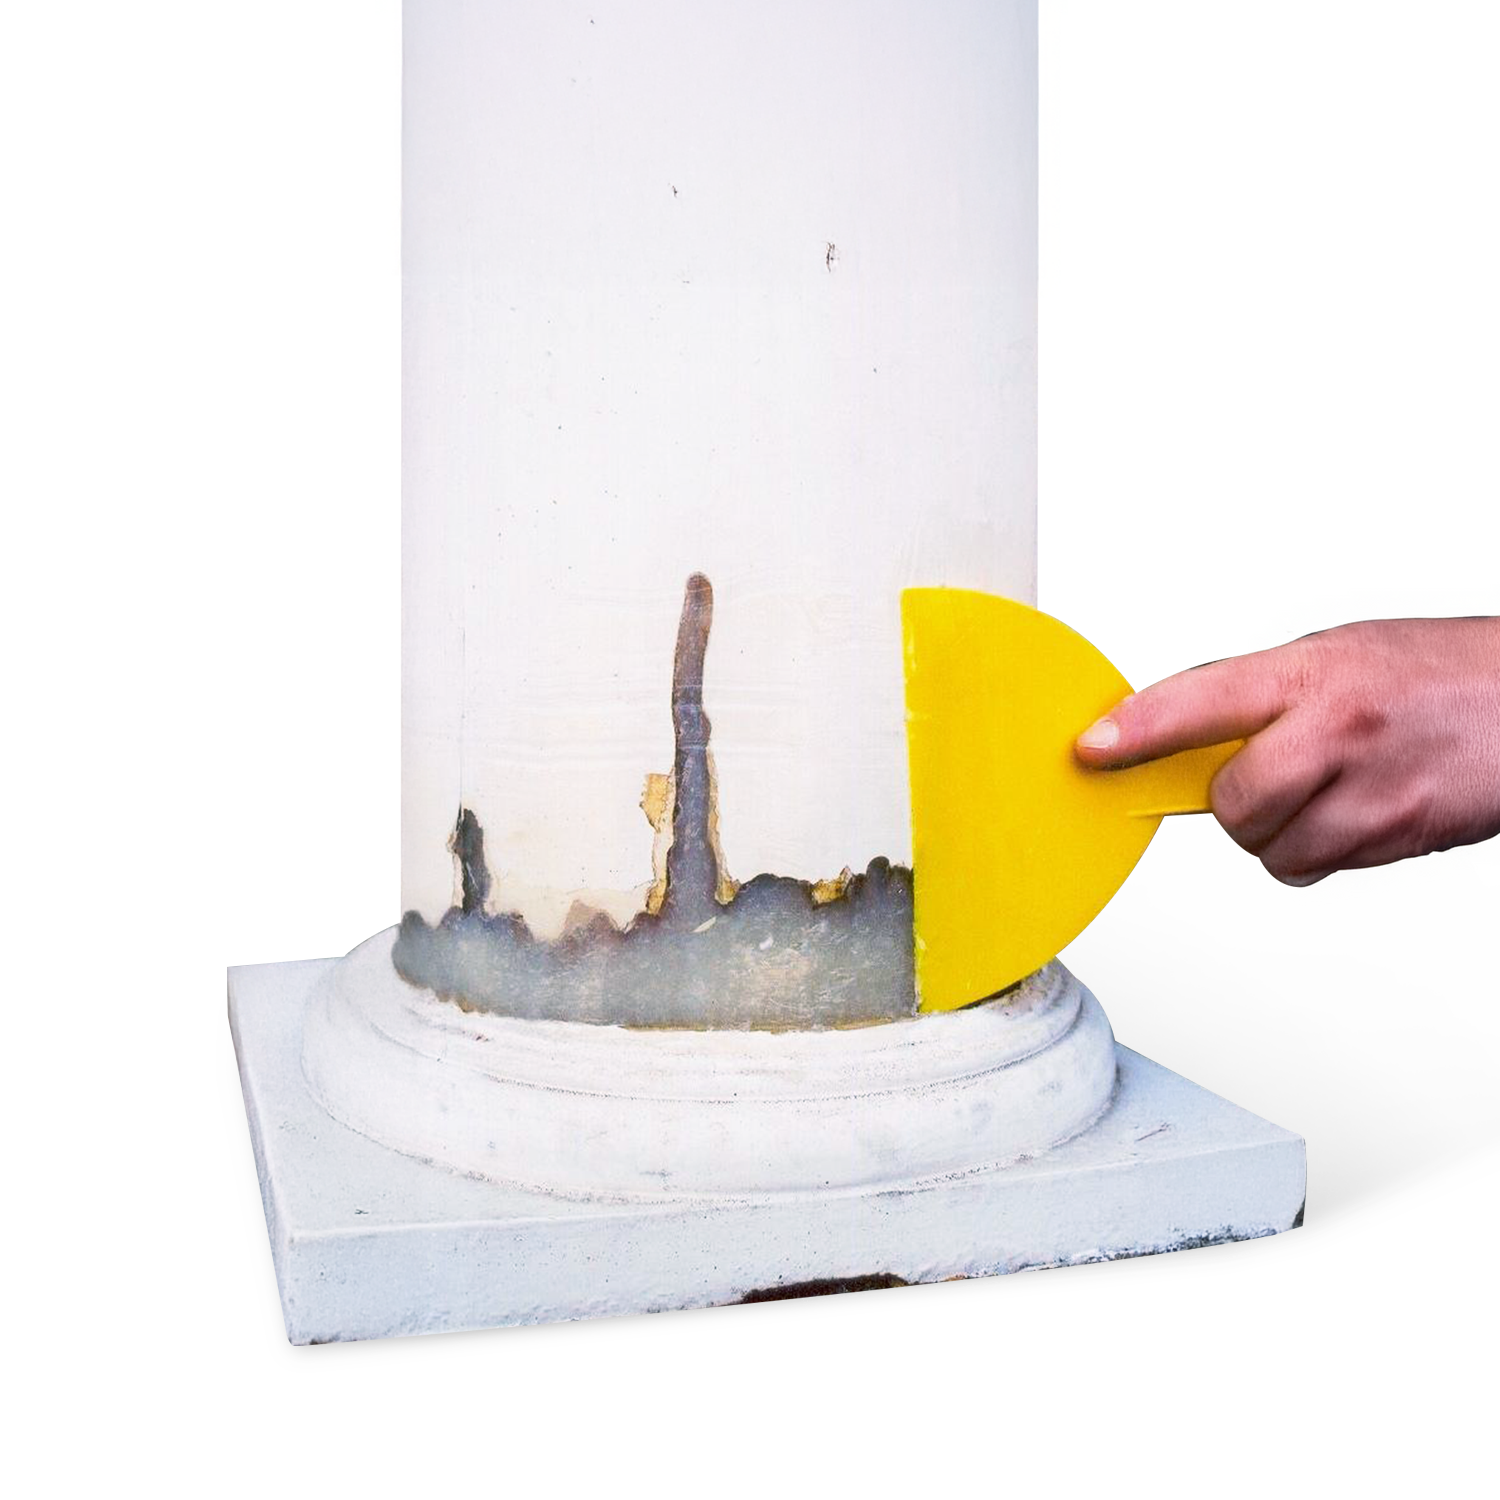
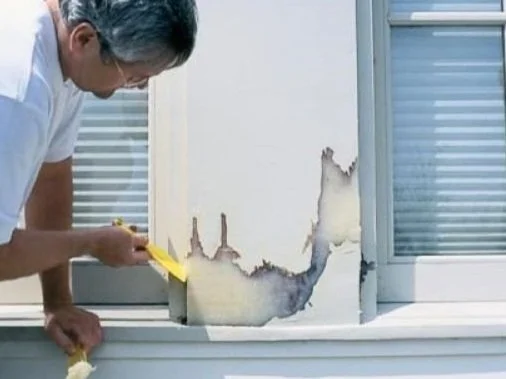
Step 1 - Prepare the Surface: Remove paint and all decayed wood to expose clean, bright wood.
Step 2 - Mix and Apply: Dispense and mix DURA-FIX™ using the dual cartridge system. Apply with a putty knife, sculpting to a smooth finish.
Step 3 - Cure: Allow the filler to cure for 8 hours.
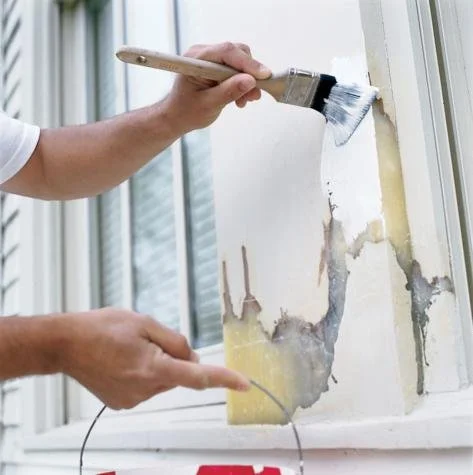
Step 4 -Finish: Sand the cured filler and apply primer, paint, or stain as desired.
FAQ's
Will my existing dispensing gun work with the Dura-Fix cartridge?
In short, There’s a good chance it will. It definitely will if you have a dispensing gun from John’s earlier epoxy company. Click here to learn more!
How much material will I need for my project?
Our 450ml dual cartridge will provide enough material to fill a softball size void or 27 cubic inches.
Do I need an epoxy consolidant ( primer )?
With DURA-FIX, applying a pre-treatment to the wood is unnecessary. Remove all decayed and damaged wood to sound, bright wood before applying.
Can I stain Dura-Fix to match natural wood?
DURA-FIX can be stained to match natural wood in 2 ways:
1: Mix a universal coloring into the material before applying it to the wood. Only a tiny amount will be necessary in most cases.
2: Sand the surface of the Dura-Fix after curing. Then, apply a semitransparent stain ( also known as a varnish stain) to the surface.
Testimonials
“ Very disappointed I haven’t come across your product sooner. I’ve been doing these sorts of things for 29 years and it’s never been this easy”
Nick Slavic
Nick Slavic Painting and Restoration Co.
“Heritage Restoration, Inc. specializes in maintaining and restoring historic and old buildings. We have used many types of repair and epoxy systems, and the DURA-FIX system provides us the ability to adapt to the many filling and repair challenges we face. “
Rob Cagnetta
Heritage Restoration, Inc
Available Support Documents
Next Generation Systems: Your Source for Innovative Wood Fillers
At Next Generation Systems, we pride ourselves on offering cutting-edge solutions for all your repair needs. Our flagship product, the DURA-FIX Flexible Wood Epoxy Filler, sets the standard for excellence in the industry. Before proceeding, explore a series of solutions to learn more about getting wood rot epoxy.
DURA-FIX is the ideal choice for indoor and outdoor projects with its cold-weather formula and easy application process. Keep reading to discover why partnering with Next Generation Systems is your right choice.
Our Products
DURA-FIX Flexible Wood Epoxy Filler
The DURA-FIX Flexible Wood Epoxy Filler is a versatile solution designed to meet the demands of any repair project. Whether you're fixing cracks, filling gaps, or restoring damaged wood, Dura-Fix delivers outstanding results every time. To know more about getting epoxy for rotted wood, explore a series of solutions before moving ahead.
Key features
a) Cold-Weather Formula
Our unique formula is designed to perform in cold temperatures, ensuring reliable performance year-round.
b) Dual Cartridge Design
The dual cartridge system makes dispensing and mixing quick and efficient, minimizing product waste and maximizing productivity.
c) Long Open Time
DURA-FIX offers a long open time, allowing you to position the material on both vertical and horizontal surfaces.
d) No Shrinking, Slumping, or Sagging
Say goodbye to frustrating issues like shrinking, slumping, or sagging. Dura-Fix maintains its shape and consistency, providing a smooth and seamless finish.
e) Easy to Sand and Paint
After curing for just 8 hours, Dura-Fix can be sanded and painted just like wood, allowing for seamless integration with existing surfaces.
f) Durable
DURA-FIX provides a durable solution that stands the test of time, making it perfect for indoor and outdoor applications.
Whether a professional contractor or a DIY enthusiast, Dura-Fix offers unmatched performance and reliability, making it the go-to choice for all your wood repair needs. To get epoxy for filling wood, explore a series of solutions before exploring other ideas.
Why Partner With Us?
At Next Generation Systems, we are committed to providing our customers with innovative solutions that exceed expectations. When you partner with us, you gain access to:
a) Exceptional Quality
Our products are crafted with the highest quality materials and undergo rigorous testing to ensure optimal performance and durability.
b) Expert Support
Have a question or need assistance? Our team of experts is here to help. We're dedicated to helping you succeed from product recommendations to troubleshooting advice.
c) Reliable Performance
With Next-Generation Systems, you can trust that our products will deliver consistent, reliable performance, project after project.
d) Innovation
We constantly research and develop new technologies to stay at the forefront of the industry. When you partner with us, you can rest assured that you'll have access to the latest advancements in wood filler technology.
Whether you're a homeowner looking to tackle a weekend DIY project or a contractor working on a large-scale renovation, Next Generation Systems has the products and expertise to get the job done right.
For homeowners, our range of wood fillers provides an accessible solution for addressing minor repairs and enhancements around the house. Whether it's fixing cracks in a deck, filling gaps in a wooden fence, or restoring weather-worn furniture, our DURA-FIX Flexible Wood Epoxy Filler offers simplicity and reliability. With easy-to-follow instructions and a user-friendly application process, even those with limited experience can achieve professional-quality results.
Contractors, on the other hand, require products that can withstand the rigors of demanding construction projects. Our DURA-FIX filler is engineered to meet these needs, offering durability, versatility, and efficiency. From repairing structural damage to restoring aging woodwork, our filler is the go-to choice for professionals who demand nothing but the best.
Collaborate With Us!
Next Generation Systems is your trusted source for innovative wood fillers that deliver exceptional performance and reliability. With our DURA-FIX Flexible Wood Epoxy Filler, you can confidently tackle any repair project, knowing that you're using the best product on the market.
Partner with us today and experience the Next Generation difference for yourself.
